


title
Please take a moment to fill out this form. We will get back to you as soon as possible.
All fields marked with an asterisk (*) are mandatory.
IBM Planning Analytics: Analyze Data and Create Reports (V2.0.x)


Course Description
Overview
This course is designed to teach analysts how to use IBM Planning Analytics to analyze data to discover trends and exceptions, create and customize reports and templates, and contribute data to plans. Through a series of lectures and hands-on activities, you will learn how use Planning Analytics Workspace and Planning Analytics for Microsoft Excel to create analyses, enter data, create custom views and dashboards, and build formatted reports and forms.
Objectives
- Understanding IBM Planning Analytics data
- Creating books
- Creating and saving views
- Changing the way data is displayed
- Displaying specific members by using sets
- Adding calculations to views
- Highlighting exceptions by using conditional formatting
- Entering data
- Experimenting with data by using sandboxes
- Working with spreadsheets online by using websheets
- Formatting for reporting
- Exploring data by using visualizations
- Creating dashboards
- Examining performance by using scorecards
- Exporting data
- Introduction to IBM Planning Analytics for Microsoft Excel
- Exploring data in Planning Analytics for Microsoft Excel
- Create reports easily by using Quick Reports
- Expanding and formatting members by using Dynamic Reports
- Exploring TM1 functions
- Creating Custom Reports
- Entering Data in Planning Analytics for Microsoft Excel
- Simplify tasks by using action buttons
- Creating websheets
Audience
Analysts
Prerequisites
- Knowledge of your business requirements
- Basic knowledge of Microsoft Excel
Topics
Understanding IBM Planning Analytics data
• Understanding models
• Understanding cubes
• Understanding dimensions
• Understanding views
• Understanding sets
Creating books
• Creating books
• Adding content
• Creating new sheets
• Saving, closing, and opening views
Creating and saving views
• Compare two views of the same cube
• Create new views
• Save a view
Changing the way data is displayed
• Move and filter dimensions
• Show different levels of detail
• Create an asymmetric view
• Display cells as percentages
• Add top or bottom filters
• Show attributes for dimension members
Displaying specific members by using sets
• Display existing sets
• Add, remove, and reorganize members in a set
• Find members by using searches and filters
• View attributes
• Save sets
• Edit a set
Adding calculations to views
• Add summary calculations
• Add member calculations
• Remove and rename calculations
Highlighting exceptions by using conditional formatting
• Apply conditional formatting
• Add an additional condition
Entering data
• Distribute data to multiple cells by using data spreading
• Enter and hold data using quick commands
• Copy and paste and use calculations
• Add a comment to a cell
Experimenting with data by using sandboxes
• Creating sandboxes
• Comparing sandboxes
• Committing data and deleting sandboxes
Working with spreadsheets online by using websheets
• Find and add websheets to your book
• Explore websheets
Formatting for reporting
• Creating a new view
• Formatting the view for reporting
Exploring data by using visualizations
• Examine different visualizations
• Customize a visualization
Creating dashboards
• Adding and reusing objects
• Synchronizing objects
• Navigating the book and perform tasks by using buttons
• Changing the appearance of a view
• Hiding information
• Proven Practices for Dashboards
Examining performance by using scorecards
• Reading scorecards
• Adding scorecards to a book
Exporting data
• Exporting a view to Microsoft Excel
Introduction to IBM Planning Analytics for Microsoft Excel
• Examining report types
Exploring data in Planning Analytics for Microsoft Excel
• Connect to a system, and add an Exploration
• Display different dimension members
• Modify and save the view
Create reports easily by using Quick Reports
• Convert an Exploration to a Quick Report
• Drag a view to add a Quick Report
• Synchronize reports by using cell referencing
• Change members on rows or columns
• Add columns or rows and apply styles
• Apply custom formatting
Expanding and formatting members by using Dynamic Reports
• Create and explore a Dynamic Report
• Formatting the Dynamic Report
• Rebuild the Dynamic Report
Exploring TM1 functions
• Examine the TM1 functions in a Dynamic Report
• Derive rows based on saved sets
• Derive rows based on MDX
• Create custom format definitions
• Create custom columns
• Add new sections and multiple Dynamic Reports to a single sheet
Creating Custom Reports
• Create two custom reports
• Combine the two reports
Entering Data in Planning Analytics for Microsoft Excel
• Entering data in cube viewer
• Entering data in Dynamic Reports
• Entering data in Explorations and Quick Reports
• Using Sandboxes to experiment with data
Simplify tasks by using action buttons
• Enable action buttons
• Add an action button to navigate to another worksheet
• Edit an action button
• Create an action button that rebuilds a worksheet
Creating websheets
• Publish a websheet
• Manage websheets
• Add the websheet to a Planning Analytics Workspace book
Recognition
When you complete the Instructor-Led version of this course, you will be eligible to earn a Training Badge that can be displayed on your website, business cards, and social media channels to demonstrate your mastery of the skills you learned here.
Learn more about our Data Reporting Badge Program →Related Courses
-
IBM Planning Analytics: Administer the Technical Environment - Local
K05003GW- Duration: 8 Hours
- Delivery Format: Self-Paced Training (WBT)
- Price: 245.00 USD
-
IBM Planning Analytics: Analyze Data and Create Reports (V2.0.x)
J1357GS- Duration: 16 Hours
- Delivery Format: Self-Paced Training
- Price: 1,095.00 USD
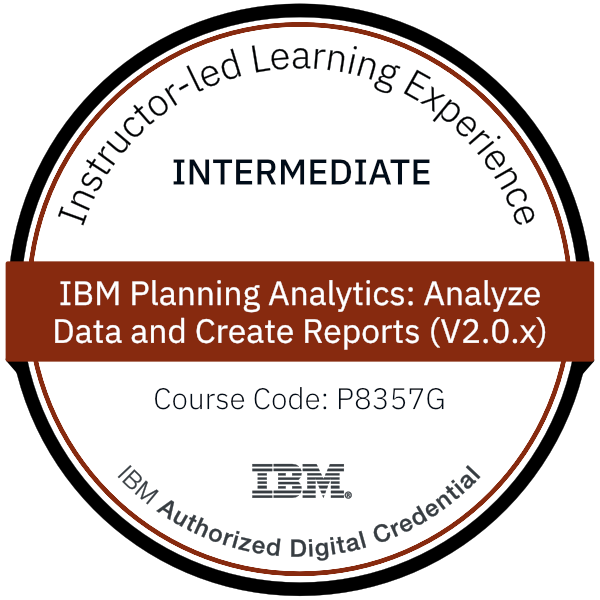
This course is eligible for the IBM Planning Analytics: Analyze Data and Create Reports (V2.0.x) - Code: P8357G

Need Help?
Call us at 877-206-0106 or e-mail us at info@learnquest.com

Self-Paced Training Info
Learn at your own pace with anytime, anywhere training
- Same in-demand topics as instructor-led public and private classes.
- Standalone learning or supplemental reinforcement.
- e-Learning content varies by course and technology.
- View the Self-Paced version of this outline and what is included in the SPVC course.
- Learn more about e-Learning
Course Added To Shopping Cart
bla
bla
bla
bla
bla
bla
Self-Paced Training Terms & Conditions
THIS IS A SELF-PACED VIRTUAL CLASS. AFTER YOU REGISTER, YOU HAVE 365 DAYS TO ACCESS THE COURSE.
This is a Self-Paced virtual class; it is intended for students who do not need the support of a classroom instructor. If you feel you would better benefit from having access to a Subject Matter Expert, please enroll in the Instructor-Led version instead. Minimal technical support is provided to address issues with accessing the platform or problems within the lab environment.
Before you enroll, review the system requirements to ensure that your system meets the minimum requirements for this course. AFTER YOU ARE ENROLLED IN THIS COURSE, YOU WILL NOT BE ABLE TO CANCEL YOUR ENROLLMENT. You are billed for the course when you submit the enrollment form. Self-Paced Virtual Classes are non-refundable. Once you purchase a Self-Paced Virtual Class, you will be charged the full price.
After you receive confirmation that you are enrolled, you will be sent further instructions to access your course material and remote labs. A confirmation email will contain your online link, your ID and password, and additional instructions for starting the course.
Upon receipt of the Order Confirmation Letter which includes your Enrollment Key (Access code); the course begins its twelve (12) month access period. IMPORTANT!!! If your course provides access to a hands-on lab (Virtual Lab Environment), you will have a specific number of days (typically 30 days) on the remote lab platform to complete your hands-on labs. Do not start your lab until you are ready to use your lab time effectively. Time allotted in the virtual lab environment will be indicated once you apply the enrollment key. The self-paced format gives you the opportunity to complete the course at your convenience, at any location, and at your own pace. The course is available 24 hours a day.
If the course requires a remote lab system, the lab system access is allocated on a first-come, first-served basis. When you are not using the elab system, ensure that you suspend your elab to maximize your hours available to use the elab system. Note: This does not add additional days to your Lab Environment time frame.
Click the Skytap Connectivity Test button to ensure this computer's hardware, software and internet connection works with the SPVC Lab Environment.
Click the Skytap Connectivity Documentation button to read about the hardware, software and internet connection requirements.
Sorry, there are no classes that meet your criteria.
Please contact us to schedule a class.

STOP! Before You Leave
Save 0% on this course!
Take advantage of our online-only offer & save 0% on any course !
Promo Code skip0 will be applied to your registration